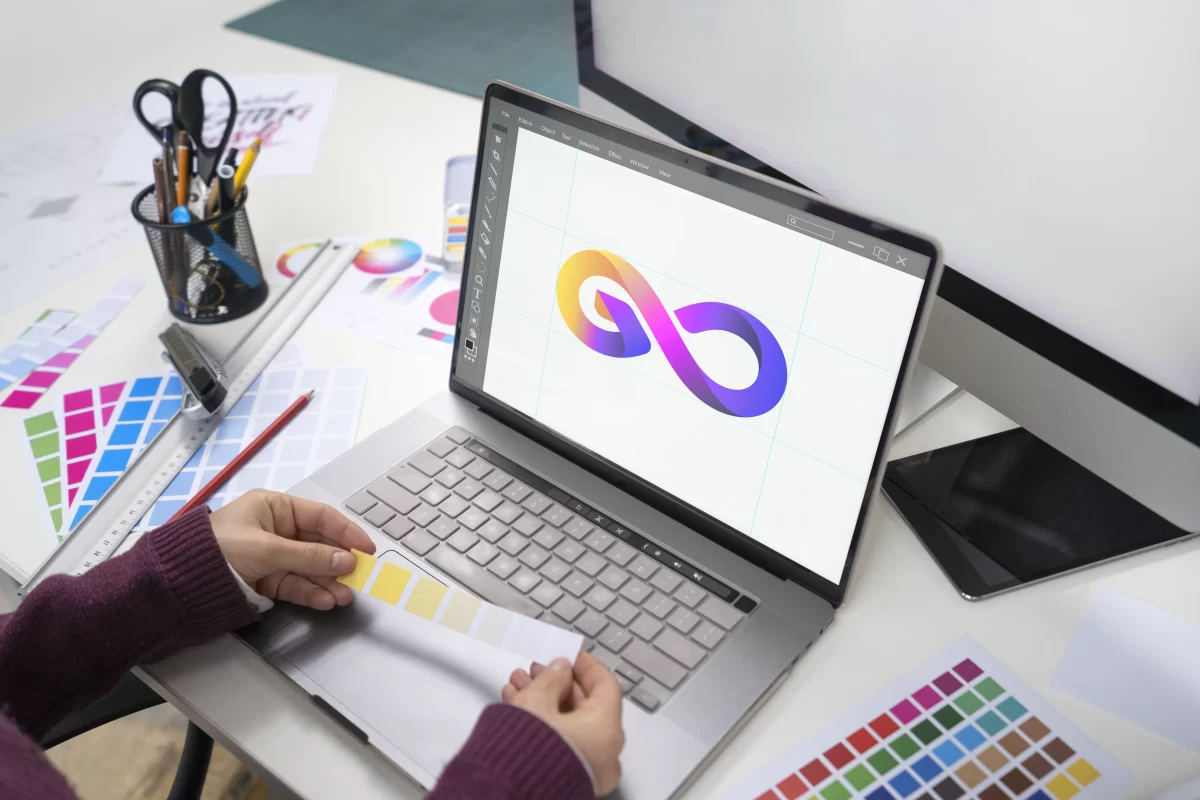
The Colour Conversion
So, you’ve crafted a digital masterpiece and are ready to bring it to life on some custom stickers. But wait, there’s a crucial step before hitting the print button – the transition from RGB to CMYK. Let’s embark on the reasons behind changing over to CMYK.
RGB Explained:
RGB, which stands for Red, Green, Blue, is a colour model widely used in digital imaging and electronic displays. Unlike traditional methods of colour representation, which rely on combining pigments like in painting or printing, RGB is an additive colour model.
CMYK Explained:
CMYK, which stands for Cyan, Magenta, Yellow, and Black, is a subtractive colour model used in colour printing. Unlike the additive RGB model used for digital displays, CMYK is designed for colour reproduction for creating your custom stickers
Tips for a Picture-Perfect custom sticker
So, how do you ensure your stickers look as stunning in print as they do on your screen? Let’s dive into some practical tips.
- Design in CMYK from the Start: If your final destination is print, consider designing in CMYK mode from the get-go. Start your custom sticker design journey in CMYK mode.
- Colour Calibration Counts: Ensure your screen is properly calibrated to get as close to real-world colours as possible. Importance of colour calibration for accurate custom sticker printing.
- Test Prints and Proofs: Before going big on the print run, consider getting in contact with us about getting test prints done to get a sneak peek at how your colours will play out in the physical realm. Test prints for custom stickers – a crucial step for vibrant results.
Why CMYK for Custom Stickers?
- Colour Accuracy: CMYK is specifically designed for printing, where colours are created through the combination of Cyan, Magenta, Yellow, and black inks. Using CMYK ensures that the colours you see on your screen closely match the printed output.
- Consistency Across Devices: CMYK allows for consistent colour reproduction across different printing devices. When you design in CMYK, you have better control over how colours will appear on your stickers.
- Printers Operate in CMYK: Most printers, especially commercial printers, operate using the CMYK colour model. Designing your artwork in CMYK aligns with the capabilities of our printers, ensuring a smoother and more accurate printing process.
- Avoiding Colour Shifts: Printing in CMYK helps avoid unexpected colour shifts that may occur when converting RGB images to CMYK. Colours that look vibrant on a screen might not reproduce the same way in print. Designing in CMYK from the start minimises the chances of such shifts.
- Print-Ready Files: Using CMYK ensures that your files are print-ready. Printers can directly use CMYK files without needing to perform additional conversions. This streamlines the printing process and helps reduce the risk of errors or inconsistencies.
How to Turn Your Artwork into CMYK
Enough theory – let’s get practical. Here’s a step-by-step guide for both Adobe Illustrator and Adobe Photoshop. If you are using a different program we recommend visiting your programs support page on setting your artwork as CMYK.
Setting up Your Colours as CMYK in Adobe Illustrator:
- Open Your Document:
- Launch Adobe Illustrator and open your artwork.
- Check the Colour Mode:
- Navigate to “File” > “Document Colour Mode” and confirm it’s set to “CMYK.”
- Convert to CMYK (if necessary):
- If your document originated in RGB, Illustrator will prompt you to convert. Simply select “Convert.”
- Adjust Colours (if needed):
- Fine-tune your custom sticker colours, addressing any disparities.
- Saving as PDF:
- Go to “File” > “Save As.” Choose “Adobe PDF” as the format for your custom stickers.
- Configure PDF Settings:
- A Save Adobe PDF dialog box will appear; adjust settings to suit your custom sticker requirements.
- Embed Colour Profile:
- Confirm the “ICC Profile” option is set to “Include destination profile” for accurate colour reproduction in your custom stickers.
- Save:
- Click “Save” to store your custom sticker artwork as a PDF.
Setting up Your Colours as CMYK in Adobe Photoshop:
- Open Your Document:
- Open the Adobe Photoshop document containing your artwork.
- Check the Colour Mode:
- Navigate to “Image” > “Mode” and ensure that the colour mode is set to “CMYK Colour.”
- Convert to CMYK (if necessary):
- If your document originated in RGB mode, Photoshop will prompt you to flatten layers. Select “Flatten.”
- Adjust Colours (if needed):
- Fine-tune your custom sticker colours, checking for any disparities.
- Saving as PDF:
- Go to “File” > “Save As.” Choose “Photoshop PDF” as the format for your custom stickers.
- Configure PDF Settings:
- A PDF Options dialog box will appear; adjust settings, especially if you want to include layers.
- Include Layers (if needed):
- If you want to retain layers for future editing, check the “Layers” option in the PDF Options dialog box.
- Embed Colour Profile:
- Ensure the “ICC Profile” option is set to “Include destination profile” for accurate colour reproduction in your custom stickers.
- Save:
- Click “Save” to store your custom sticker artwork as a PDF.
Now your design is in CMYK and ready for printing!
Congratulations, your custom sticker design is now decked out in vibrant CMYK, primed and ready to be eye-catching stickers! Before you place your order, here’s an exclusive treat for you.
Your 10% Storewide Discount Awaits!
Jump onto our website and receive 10% off storewide off your first order. A discount that covers our entire range of sticker goodness! Simply use the special coupon code:


